Monday, March 24, 2014

Product Smackdown: Primers

Hello beautiful!
Today's blog is all about the primers that I use on myself and on my clients, and what I think of them.

It ranges from low to high end primers, and let me tell you from all the primers I have tried these and they are the ones that have proven to me they are worth the money and most of them the hype.  It ranges on what  kind of primer I want use, obviously depending on how my skin and my client skin feels like, if they are dry I will use a moisturizing primer, if they are oily I will use a more silicone based primer, so I choose the five that I use almost 99% of the time.

Benefit Porefessional:
One of the best primers for oily skin, the silicone feeling to it makes it so easy to apply and when you apply the foundation it just makes it slide on, so perfect for even application, also this one actually does what it says in the it makes your pores look smaller, and honestly, if you are on a shoot where you are going to have pictures taken really close to your visibly pores, this thing works magic and it is basically like photoshop on real life. It doesn't make my skin or my clients skin oily at all, if applied correctly, you need a tiny bit, for the whole face, so be careful with that, and a cool thing about this primer is that it actually has a tint to it, but it doesn't change your skin color, so don't worry about that!


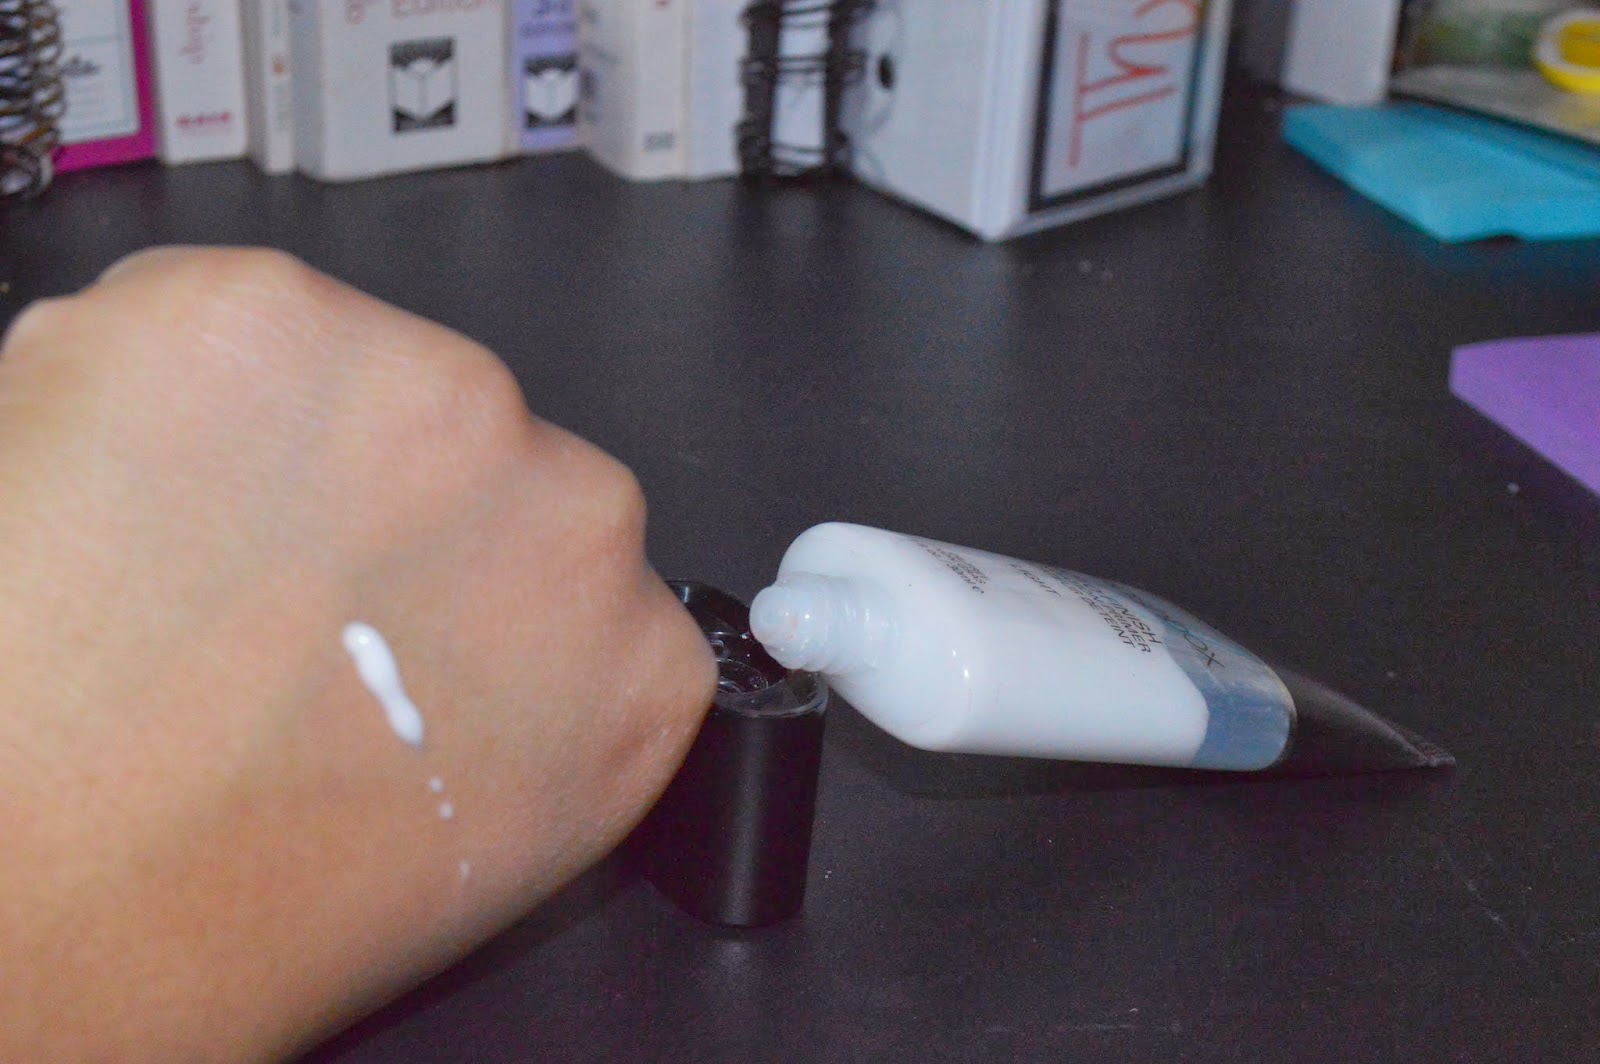
Smashbox Photo Ready Primer:
This is my favorite to use for both oily and dry skin, just because it is so soft to use and it actually moisturizes the skin but it doesn't make it greasy, so perfect for both, i have used this one when i have a chapped nose (when your sick it kind of starts to peel off because of the lack of moisture and using tissues to remove any... well you know where i'm getting here) and it doesn't stick to my flakiness so it makes my skin look like I'm not sick, and if you are sick i recommend using the purple/lavender shade, it will make your skin go from dull and "dead-ish" to a more blowy and healthy complexion, the one that i use, normally i use it when doing long photo shoots, just because since it is not oily even though is silicone based, it makes my models skin look beautiful throughout the whole shoot. It is a white product but when blended in, it is like your own skin.


L'Oreal Studio Secrets Primer:
Do not recommend this for dry skin, at least not if you have flaky skin, just because it can adhere to the dry patches and when it comes to applying foundation it will not look good at all, so definitely more for the normal, combination and oily skins. By the way, i used this mixed in with foundation or bb cream, depending on the amount of coverage you want, and it will make everything so much easier to apply and it will look gorgeous!


Maybelline Baby Skin Pore Eraser:
Now, this one has been compared to the smash box and the professional, just because of the  consistency it has, and let me tell you in my professional opinion it is completely different from them.  First of all this consistency is a bit oily, actually erase that from your mind, it is more like applying a serum to your face, and the smash box one feels more like a moisturizer and the porefessional it has a silicone feel to it, while this one feel more oily, nevertheless that doesn't make it will make your skin look oily. Moving on, this one is good for dryer skin, just because of it oiliness, and it also works with oily skin, believe me when i tell it won't make you feel greasy, at least to after you applied the foundation, but you do need to power the skin. the only downside i have found on this primer, is that it doesn't blur or erases my pore, nor my clients, so maybelline you might wanna work on that!


M.A.C Strobe Cream:
Even though this is not a primer per se, and it actually is a moisturizer, this little, beautiful, amazing cream is perfect for applying before foundation, it has shimmers on it, a bit of purple, blue hues of shimmers on it, and when apply under the foundation, makes your skin glow from within, and it shoots beautifully, it is not exactly to make your makeup last longer, but it does help with enhancing your skin.


Monday, March 17, 2014

Make Up Geek Eyeshadows

Hello everyone,
So this last week has been the worst week, not going to get into it because today's blog is so exciting! 
A few weeks ago I went on a search for unexpensive eyeshadows with great quality to them, and I obviously knew already about the makeup geek products, so I decided to check them out, and SURPRISE, I ended up buying 12 eyeshadows, most of them neutrals but OH MY GOD, i was stocked with them.


Ok first of all, the packaging is pretty awesome, you can actually see the colors through the pack without messing up the eyeshadows.


These are all the eyeshadows I bought. Let me tell you something, they are súper pigmented, even the lightest colors, when apply to the eyes they are just beautiful. Also they blend really nicely, they are a bit powder-y but that happens a lot with soft eyeshadows, but I haven't seen any fall out on my cheeks form them.


Neutrals, and I think everyone needs them in their life. From left to right.
  • Beaches & Cream.
  • Peach Smoothie.
  • Creme Brulee.
  • Purely Naked.
  • Frappe.
  • Latte.


  • Beaches & Cream: Soft light skin colored eyeshadow, perfect for a highlight, matee finish.
  • Peach Smoothie: great for all over the eye color, matee finish.
  • Creme Brulee: nice medium color, perfect for help blend other darker shades, more a sheen then a shimmer.
  • Purely Naked: Shimmery, good for the crease when you want more definition.
  • Frappe: sheen finish, great Neautral color for the crease.
  • Latte: red tones brown, i believe is matee, and also works great for shading.


Darker Neutrals:


  • Cupcake.
  • Country Girl.
  • Brown Sugar.
  • Cocoa Bear.
  • Mocha.
  • Corrupt.
  • Cupcake: Pink toned, matte eyeshadow, this is great to help blend out edges.
  • Country Girl: shimmery finish, i have used this one on the eyelid as the principal color and on the crease, works great in both cases.
  • Brown Sugar: Shimmery eyeshadow, great for smokey eyes.
  • Cocoa Bear: matee finish, good for warming up any eyeshadow look.
  • Mocha: matee finish, and great for making any crease dark.
  • Corrupt: the blackest black you'll ever see!


Monday, March 10, 2014

Cream Contour & Highlighters 101


Hi everyone!
Really sorry that I didn't post anything last week, I was a bit busy with college. But today I wanted to do a "tutorial" kind of post, that is all about cream contouring and highlighting. One of the biggest trends in makeup since Kim Kardashian came to the fashion and beauty world, probably one of the oldest tricks to change the structure of the face, but one the most requested looks from all times! So let's jump right into it!

CHIAROSCURO is the art of highlighting and shading(contour) it is about the principal of lightness(highlighting) and darkness(contouring) that applies into any colors, in art is referred as the use of contrast between light and dark. 

What we all makeup artist and beauty lovers try to accomplish with the highlighting and contouring trick is to give definition and depth or a 3D effect to the face. We naturally have shadows on our skin, but most of the time we don't have highlighted cheekbones or noses (at least not naturally), and to give depth and definition to your face you kind of need both of them.

What is Highlighting and Contouring?
  • Highlighting: it brings out your features and gives light to your face. It also makes the features that you highlight prominent, giving an illusion of shape.
  • Contouring: it pushes back the areas of your face, giving depth to your face.


Now, to show what I'm rambling about i have several pictures to show you what you have to do, keep in mind is not that much makeup, i'm using my normal foundation, my concealer to correct my under eyes, another one to do highlight and a dark foundation to do the contour.


Bare face (my eyes are done)


Step 1: conceal any under eye circles, i used the Glamouflage concealer by Hard Candy in Tan. Not much just enough to cover the under eye area and then I drag it out with a flat foundation brush.


Step 2: I apply the foundation i'll be using that day, my same skin color to the middle of my cheekbones, above my eyebrow, the center of my nose, cupid's bow, chin and above the edge of the jaw line, and to the "smiley lines"


Step 3: I apply Sleek to the sides of my nose, underneath my cheekbones, right under the foundation i applied earlier, around my forehead (I normally don't do this because my forehead is small, so it kind of makes disappear, but for the sake of this i did it),  to the side of my eye and to the jaw line, kind of going to my neck.


Step 4: Blend the highlight and foundation first, and then star blending the darker shades. that way when you are actually blending out the dark shade it will be easier to see where to stay and how strong you want it to look.


The left side of my face is blended, the right side is not.

Left side blended, you can see that contour it is noticeable.


Apply blush to your cheeks, between your highlight and your contout, it will actually make everything blend seamessly and make it look natural!

Got some blush onto my cheeks.

and that is the finish look :D


As you can see in the finished look the contour and highlighting looks natural, it is not over the top, but it makes you look much better!
Look at the difference!


Left: uneven complexion, dark circles, just not good enough
Right: Flawless and contour/highlighted complexion.


Sunday, March 2, 2014

Eyeliners

Hello Beautiful readers,
Since last time I talked about different eyeliner looks, and talk a little bit about different kinds, I wanted to go deeper in that subject and show you the differences they have for you to learn what you think might work the best with you!

Ok, so basically we all know a "lined" look makes a huge difference, and whether we like it or not, if we do something wrong, it definitely affects the rest of the look. I think the most important thing to remember for any beauty lover out there, is that trying out different products and looks is what makes you realize what you like and what looks best on you, so if you want to help yourself out a little bit, keep on reading!

Liquid Eyeliners


I definitely think this is the easiest one to start with, easy to use and to carry for any touch-ups.
As you can probably tell, there are different types of liquid eyeliners, some of the look like a pen, some are more "fancy looking" when it comes to packing, but what really changes the most, is the applicator they might have.


Before getting into their applicators i do believe is important to understand the difference between the packing, as you can see the first is a pen, the second one is a tiny bottle, and the third one is, a pen, again. Now the difference between them varies on the grip they have, it is easier to hold a the ones that are like pens, because we are more use to that kind of "feeling", nevertheless the bottled one is easy to use, but you might have to practice a lot more, I'm telling you, and I'm trained for this kind of things.


Applicators:


  • Doe foot or sponge applicators: well, I don't really know what else to say about this one, it is a sponge that keeps the product and then applies it to wherever you want. It really depends on the thickness of the sponge, that's your clue, if it is too thick it is more difficult to work with.


This is the Sleek it eyeliner, the brush in this one goes from thick at the  top and  it "sharpens" to a thinner sponge. In this case, the sponge sometimes is to thick and when you apply it it will make he eyeliner thicker.


This is the Flower On Your Mark Eyeliner, the sponge on this one is the same thickness throughout, so it makes it easier to apply a thin line and then thicken it as you desire.


  • Brush Applicators: self explanatory, is a brush, you can actually see the hair on the brush and it is easier to use, because of it's ability to bend and go thinner or thicker you get a bit more control with it.

This one is a glitter eyeliner, as you can see the brush can "expand"  and it is on your control.


Pencil Eyeliner


  • Mechanical Pencil Liners: they are great for personal use, you don't have to sharpen them, you just twist the bottom and the bar with color (completely blanked on the name :/) comes out and you can apply it to your eyes.


  • Pencil liners: this are the best for makeup artist, if you have to do several people with the same color, you sharpen between clients and they are clean to apply. The sharper the pencil the better for that thin line on your eyes, but remember to round the tip, if not you're going to poke your eye.


Gel or Cream Eyeliners

Probably my favorites out of the bunch, the consistency most of them have is so nice to apply to your eyes, because you can let it set or smudge so easily without hurting your eyes. You need a brush, fine liner brush to apply this product to your eyes.


Finally, they come in many different colors, consistencies, packing, and they range in prices, so you'll have to go out and look for what you feel the most comfortable with, but remember, practice makes perfect!


Good Luck, See you soon!